Making an Elizabethan Corset Part II
- Noelle

- Feb 20, 2019
- 3 min read
Updated: Dec 11, 2019
I'm back! It's been a little longer than I'd hoped, and I actually completed this corset about 2 weeks ago, but due to various circumstances I've been unable to post. I also REALLY wanted to upload some nice photos of it with this post, but due to scheduling issues I'm unsure when I'll get some up here. Hopefully it will be soon! In the meantime I thought I'd discuss how I finished off the corset.
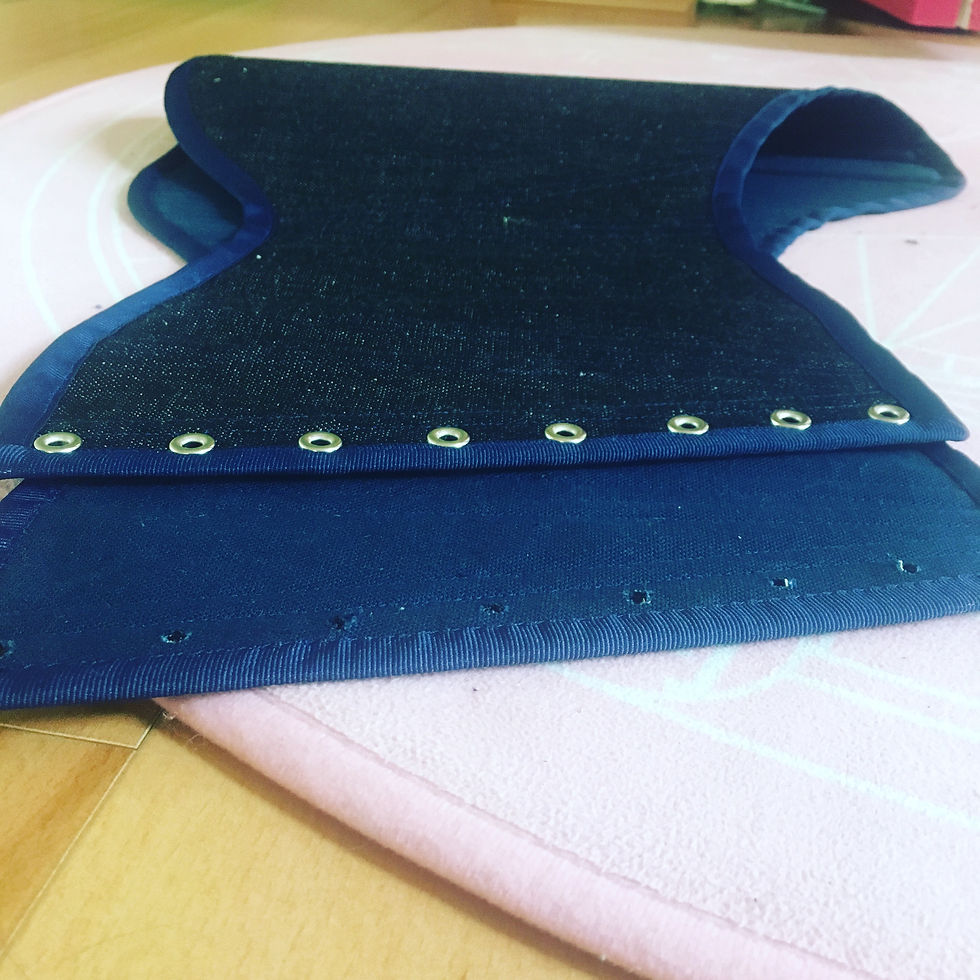
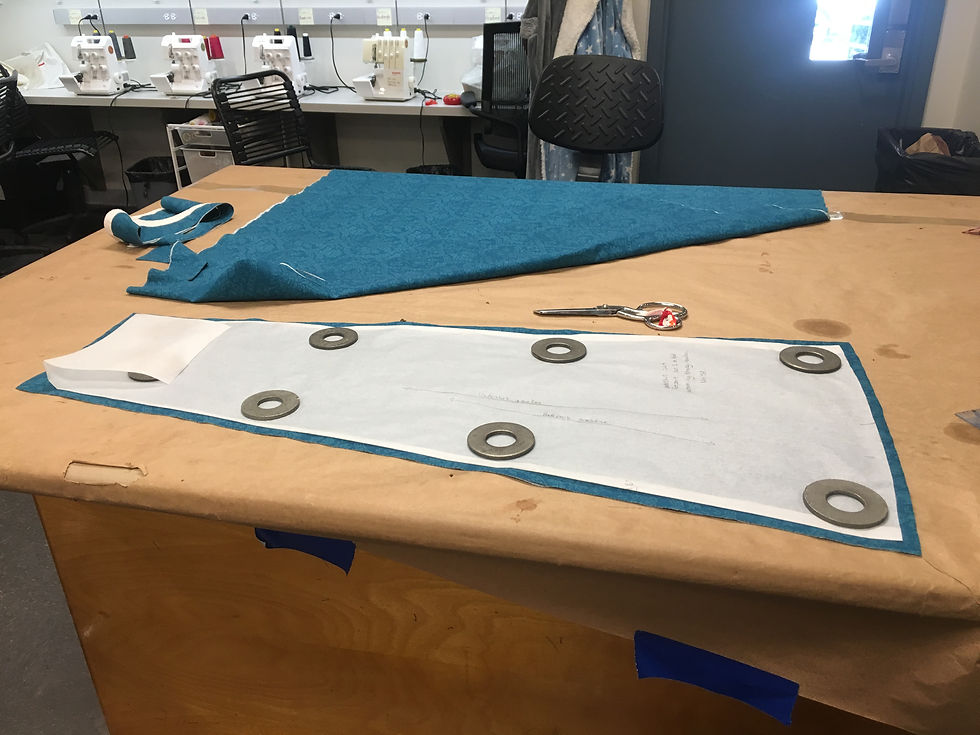
After I received my new thread I finished stitching all the boning channels. At this point I took the boning I purchased and slid some into the boning channels to test them out. Mostly, I just wanted to see how it would feel since I had never done this before. Once I was satisfied all the channels were the right width, I pulled out the basting and began pinning down the grosgrain ribbon I used as an edge tape. I only pinned it around the two back seams and the bottom edge. The hardest section to pin around was the center front, since the curve is so extreme and the ribbon really didn't want to curve that much. I was able to finagle it pretty well though! Only slight ripples. If I were to do this again I might choose an actual bias tape or make my own. I measured out enough extra ribbon for the top edge before cutting it, but I left the top edge unpinned.
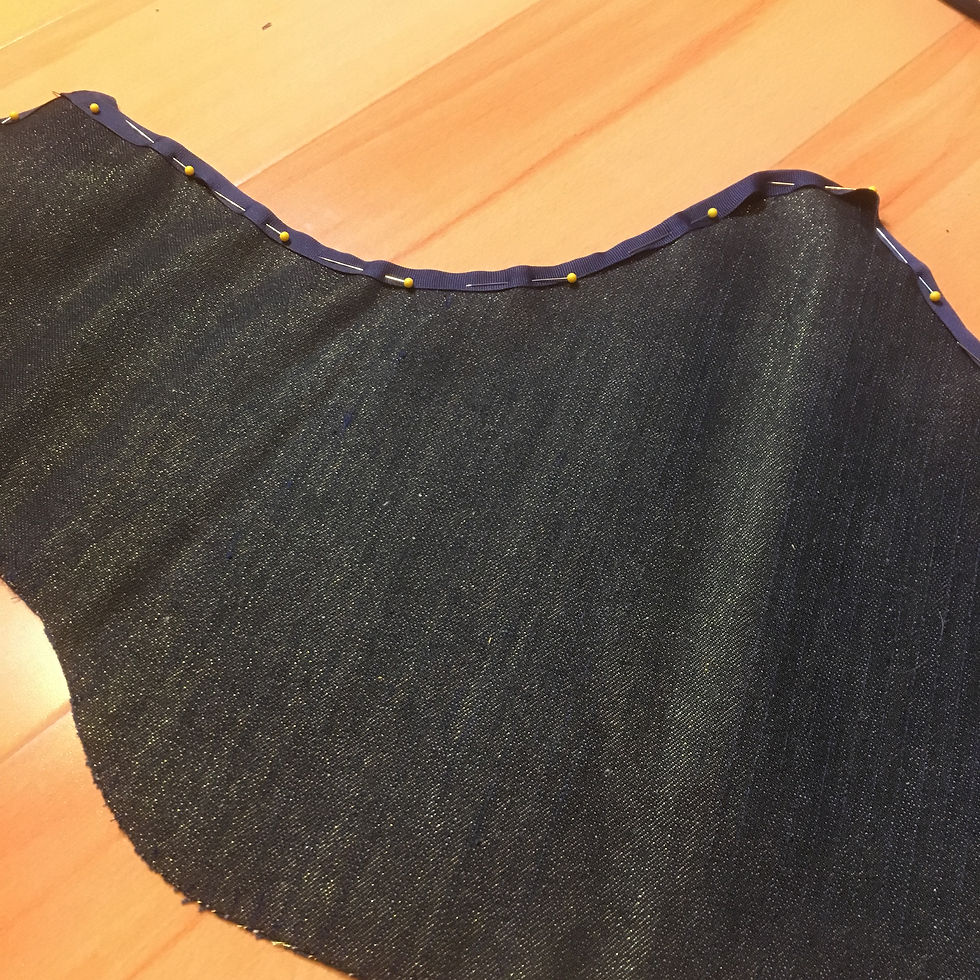
I used my machine to sew the ribbon down. I did not fold the ribbon over to the back side for this step, as I planned to hand-stitch the backside of the ribbon later.
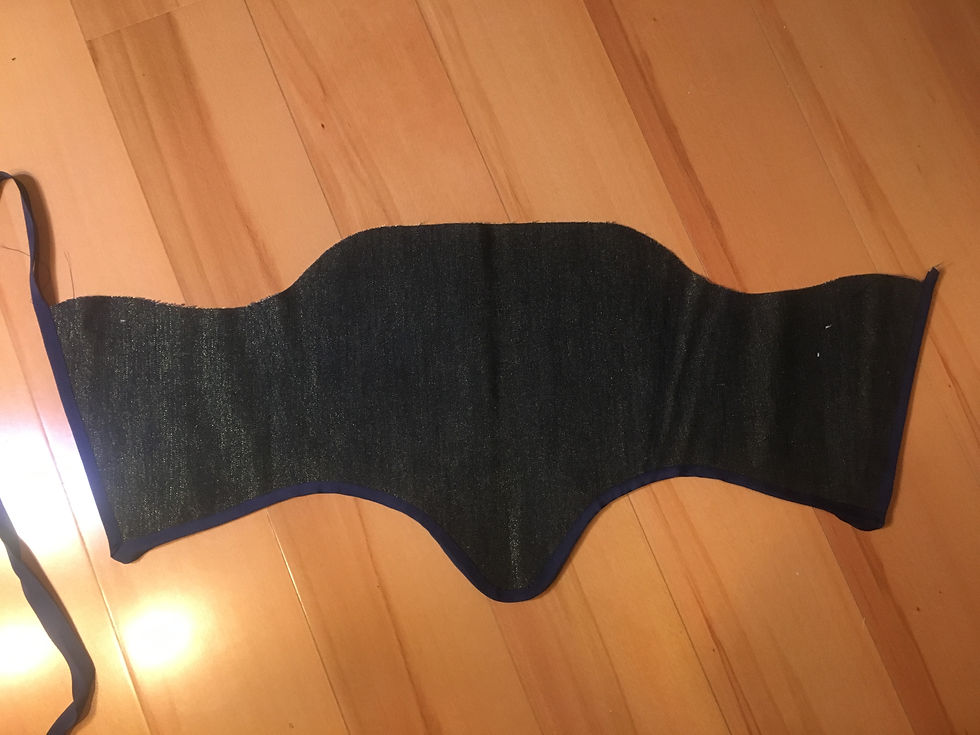
Once I finished sewing the ribbon, I went to work sliding the bones into place. My big rookie mistake: when I ordered the bones, I didn't take seam allowance for the bias tape into account, and all my bones were about a half inch too long. I was able to shift some of the bones around, but I was still missing several lengths, so I had to order more in the correct size. This delayed the project nearly another week. I also had to go at my wooden busk with a dremel to get it down to the right length. I probably should have used a saw first, but I don't have one, and I probably should have done this outside, but it was like 10 degrees out, so... well, don't use a dremel indoors if you can help it. And always wear goggles and a mask!


Once everything was the right size and in its place in the boning channels, I pinned and sewed the top edge of the ribbon tape. A couple of bones were borderline too long, and I wasn't careful, so I ended up breaking a machine needle when I ran into one. Next time, I'll err on the side of caution and buy slightly smaller bones than the measurement I take.
Next it was time to hand-stitch the back of the ribbon tape. This took me about 3-4 hours, but the results look really great I think!


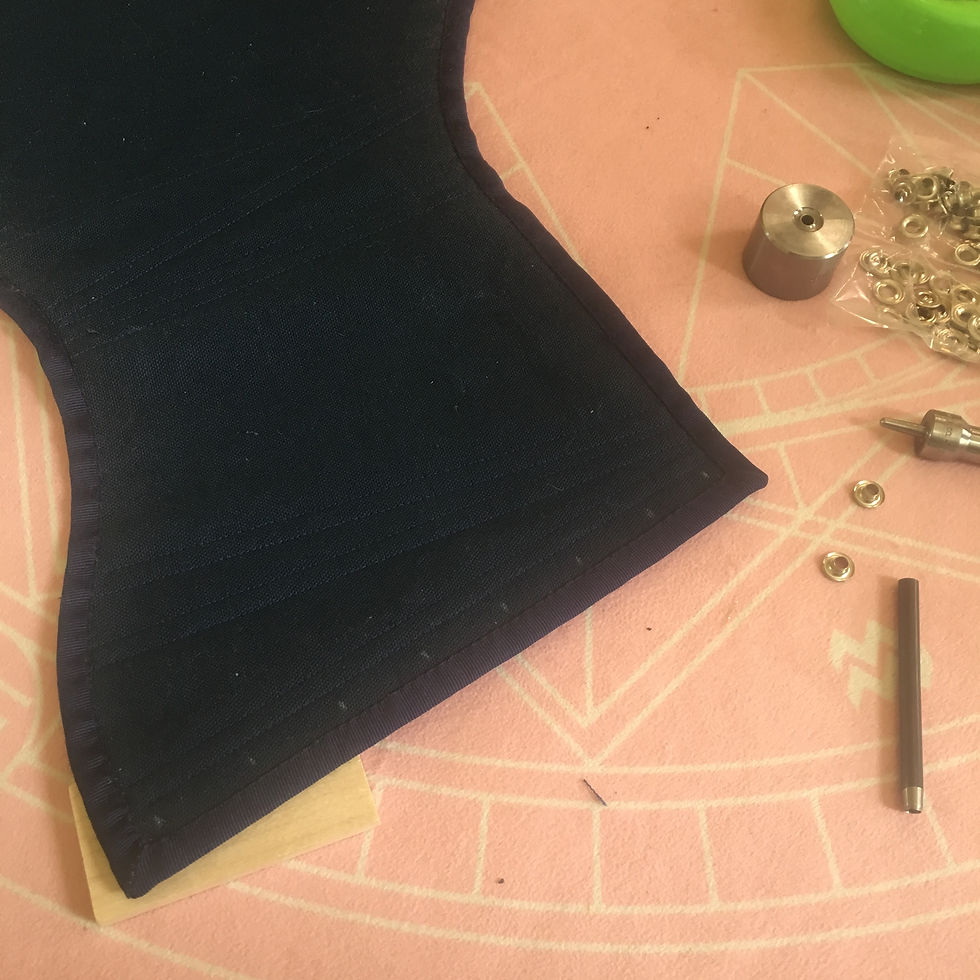
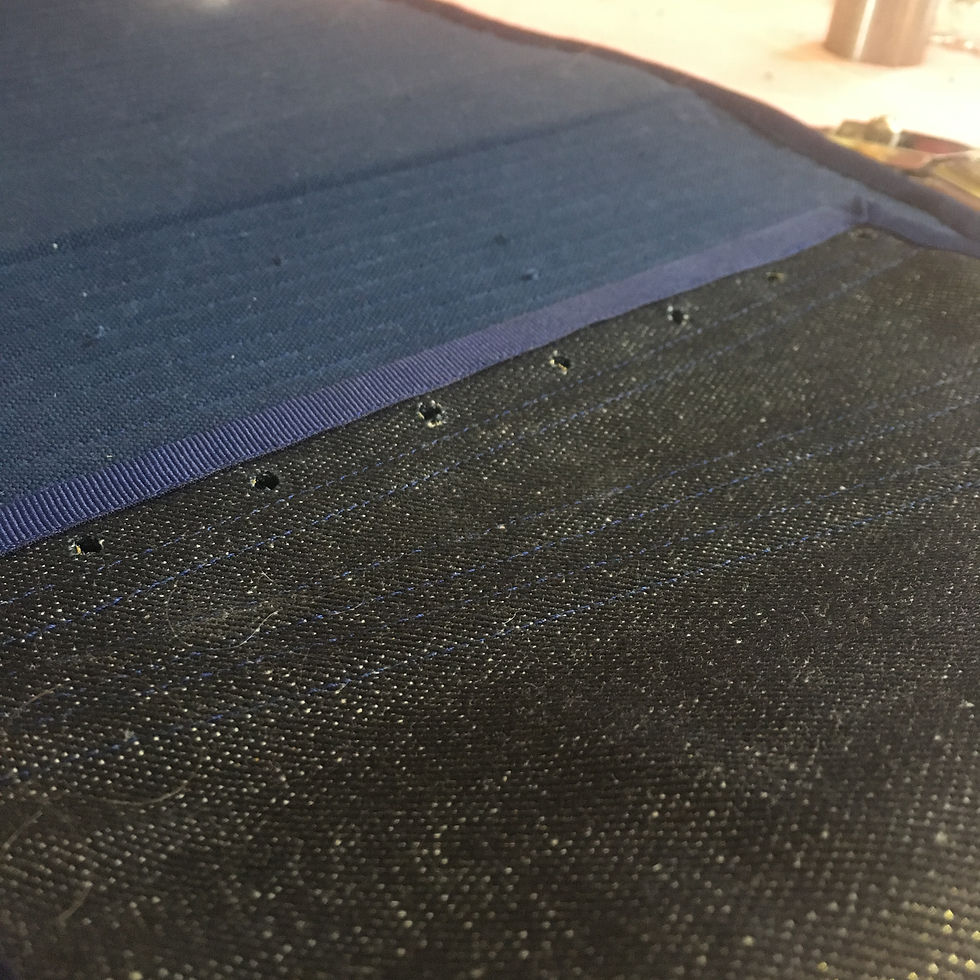
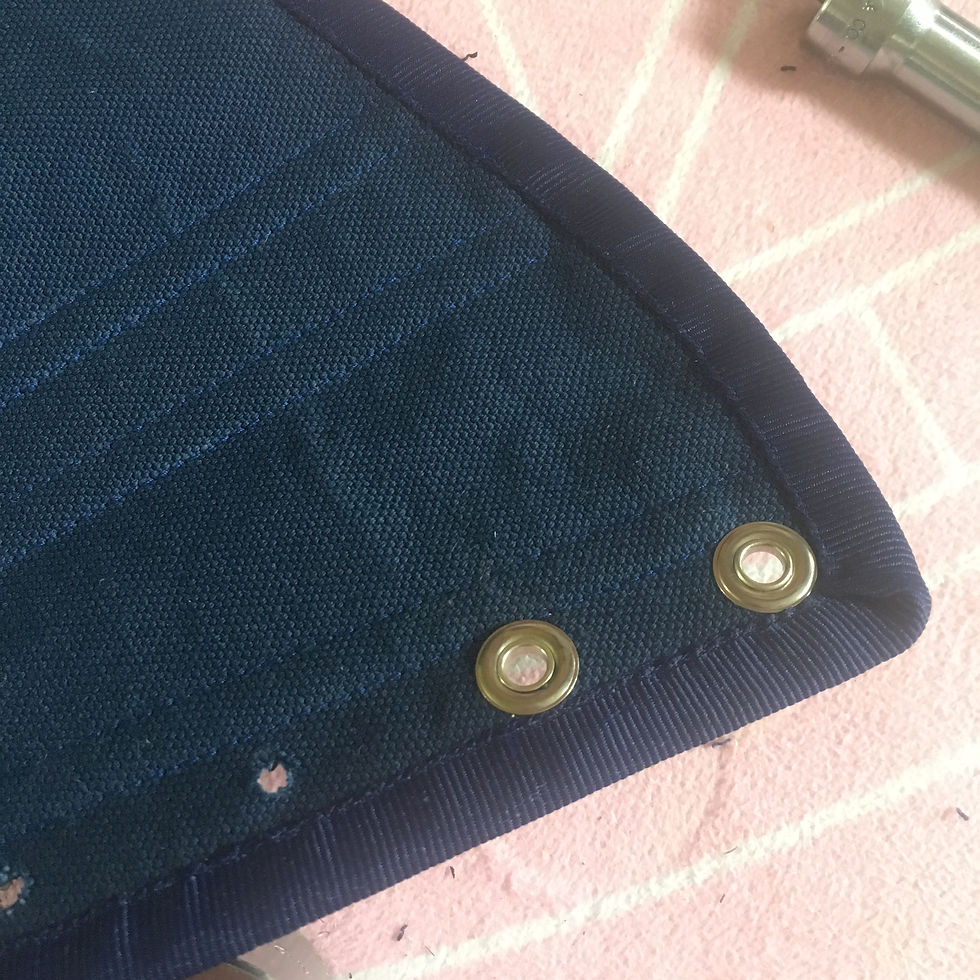
Finally, it was time for the grommets. I purchased a grommet setting kit from the boning website, and was disappointed that the hole cutter was of poor quality. The cutting edge was basically useless by the end of setting 16 grommets, and with each new one I added I need to apply more force and hammer more, and even then I had to go at the holes with scissors to finish the job. I'll need to look into a higher quality hole cutter. Otherwise, setting the grommets was easy, if tiring. I just measured and marked the placements with a ruler and hammered them in.
And that's about it! I ordered corset lacing and tried everything on and it fits really well. It's very sturdy and supports everything nicely. I wish it laced in the front as well as the back so it would be easier to get it on by myself, but the simplicity of making is also really nice for a first time corset. Next time I'll challenge myself with something more complex. I learned a lot with this project and I can't wait to try new corset and undergarment styles!
I do hope I can get some photos of this soon! Stay tuned for those and for future projects~
Comments