Process: Crane Puppet Build Part I
- Noelle

- Oct 24, 2019
- 3 min read
After a long hiatus I have returned! This summer was INSANELY busy at Williamstown Theatre Festival, and I started a new job as soon as I got back to DC, so I feel at least partially justified in my absence. Still, I guarantee nothing as far as regular posting from here on.
Over the summer I had the chance to work on some amazing (and some... less amazing) projects. WTF was certainly an Experience. I'm somewhat tempted to write a separate post about my thoughts on the whole thing, but my biggest takeaway was: they heavily rely on (and exploit!) unpaid labor when they have the means to pay their workers. Don't get me wrong, I learned some valuable information and made some exciting connections, but the emotional and physical costs were steep. I like to joke that the most important skill I learned there was how to cry in the bathroom and walk out 5 minutes later not looking like I had done so.
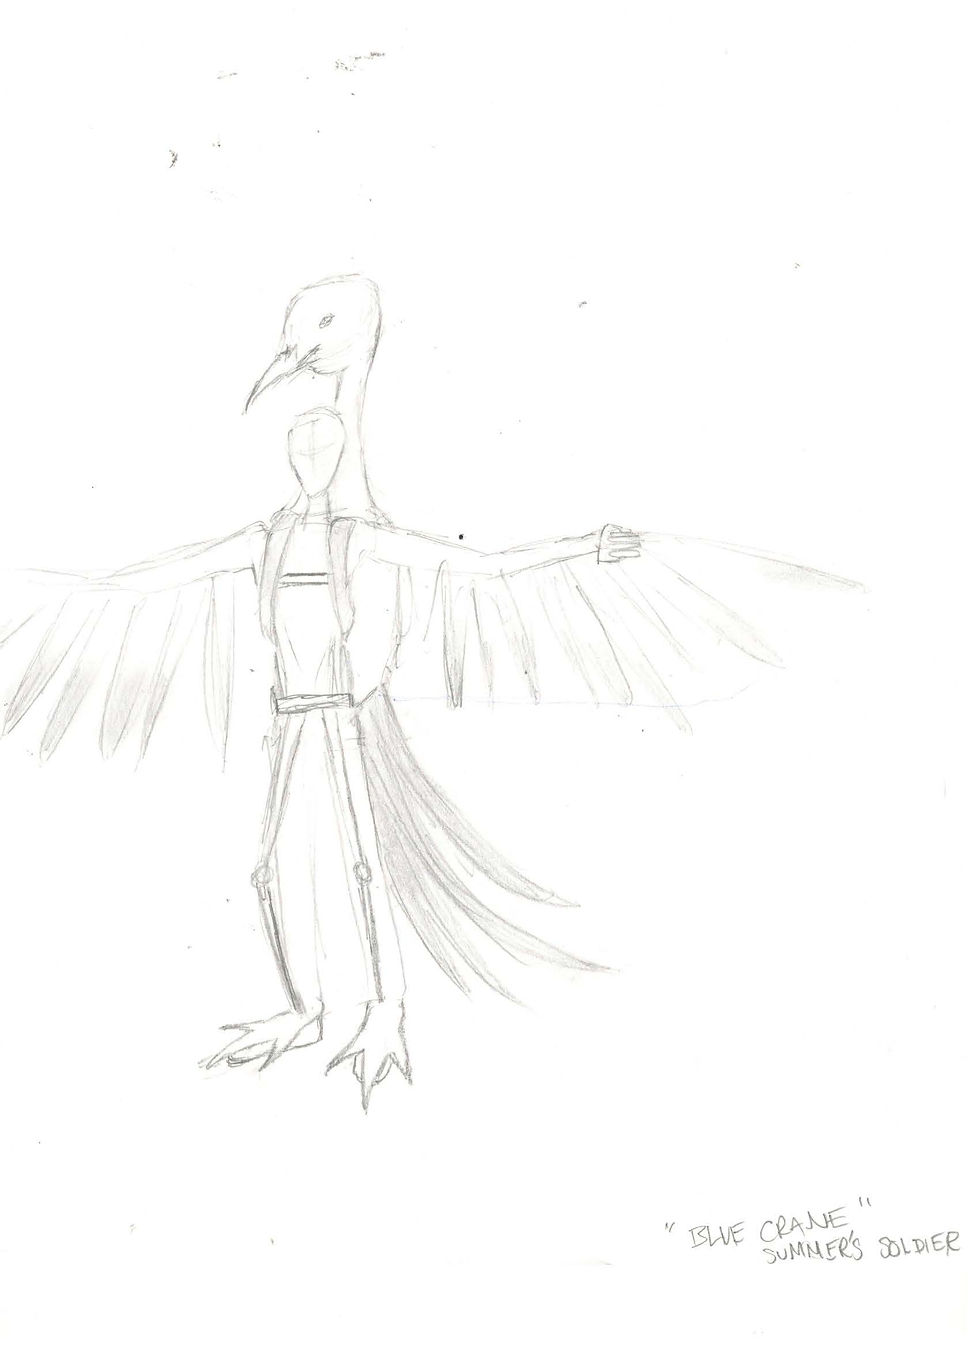
IN ANY CASE, I'm posting today about one of the projects I was put in charge of that became an amazing learning experience and a test of my crafting skills. Every season WTF puts on a community production, and this season they needed a costume for a blue crane. The designer (Ryan Schaap) wanted to go with a puppet sort of design that's could be worn by the actor like a backpack. I'll describe my process over a series of posts, the number of which is yet to be determined because this was a LONG process.
We brainstormed ideas about how to build it and settled on a backpack, chicken wire, a pool noodle, and a wig head to make up the base structure, and felt for the wings and tail. We also thought the wire frame of a folding umbrella might work as a nice structure for the wings.
After purchasing the materials I got to work. I took apart the umbrella we got.
It was clear pretty quickly that this plan was far more complicated than time and my level of skill allowed, given I was working on the project mostly on my own. We scrapped this and decided to use wooden dowels in the wings instead.
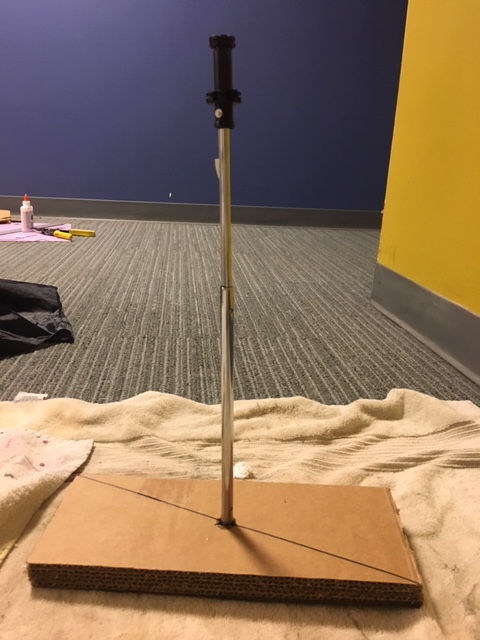
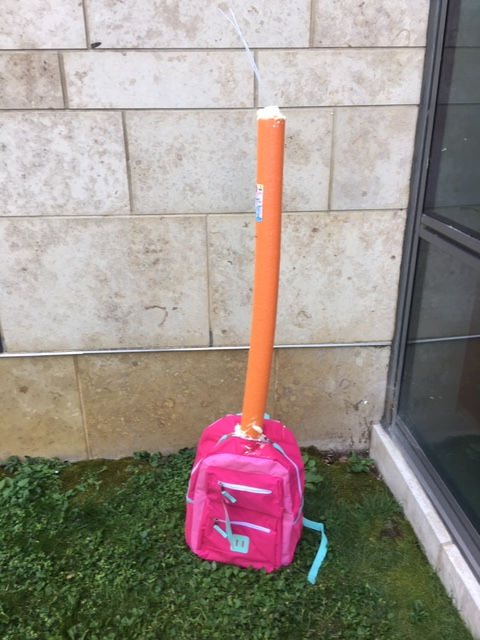
To stabilize the pool noodle I repurposed the leftover umbrella rod and glued it into several layers of cardboard, which would sit at the bottom of the backpack.
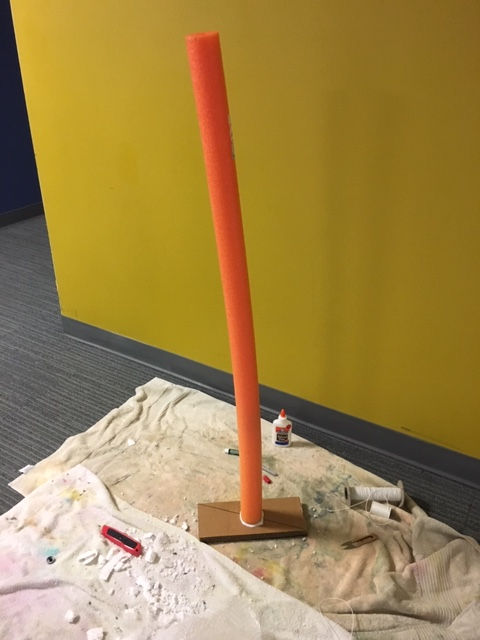
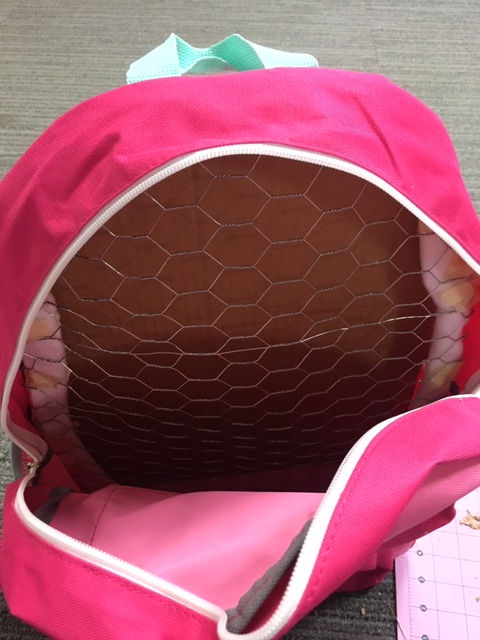
Once the glue dried I stuck this inside the backpack. Next I measured out the shape of the front and back portions of the bag so I could cut cardboard and chicken wire to fit. This was to add more structure to the bag. I made a rough pattern out of paper to help guide me in cutting the chicken wire. This was my first time using it and I scratched myself more than a few times.
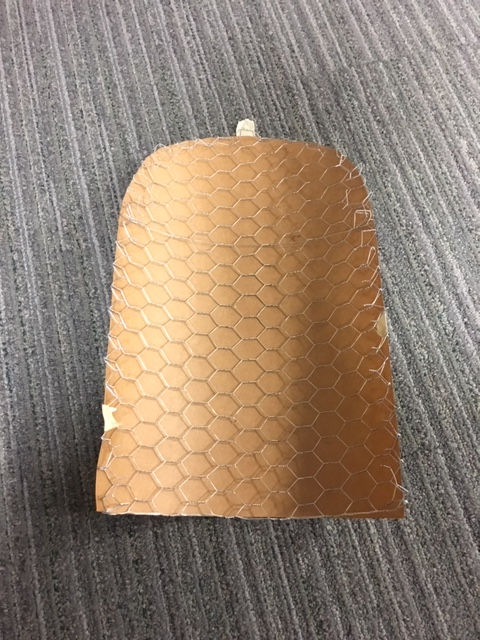
I made sure to fold over the sharp edges and tape thick felt all around, to ensure nothing could poke through. Cardboard was cut for the back of the bag to keep it rigid.
Then I added the noodle and cardboard.
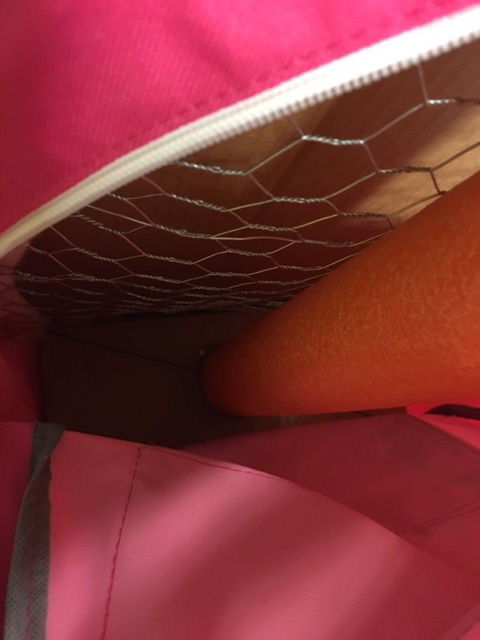
In the grand scheme of things I'm not too sure how necessary the chicken wire was, since the bag was next filled with expanding foam. I put sturdy aluminum wire down the noodle and filled that cavity with expanding foam as well.
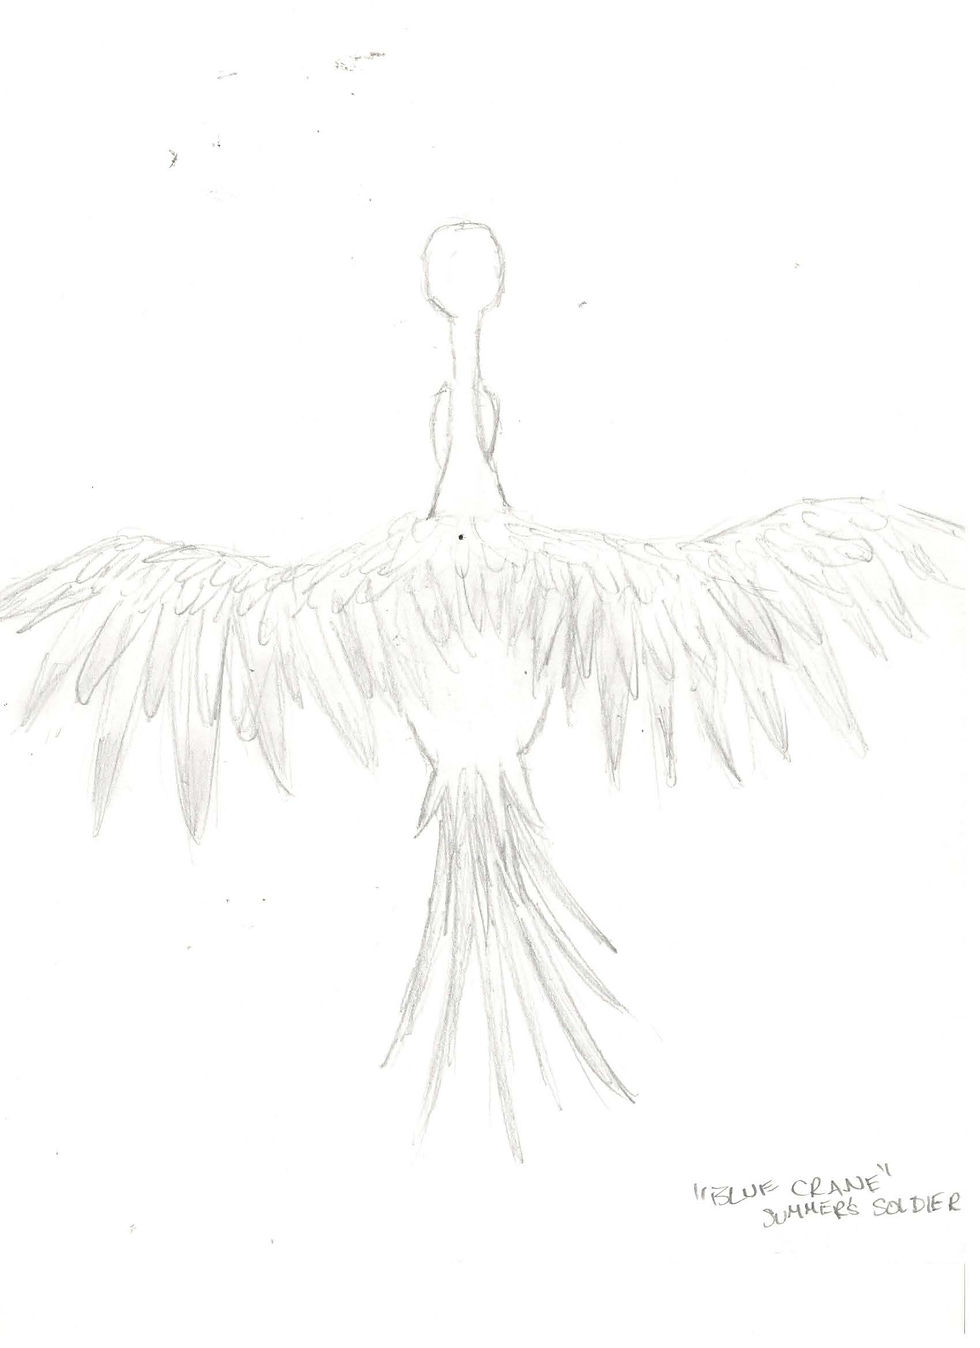
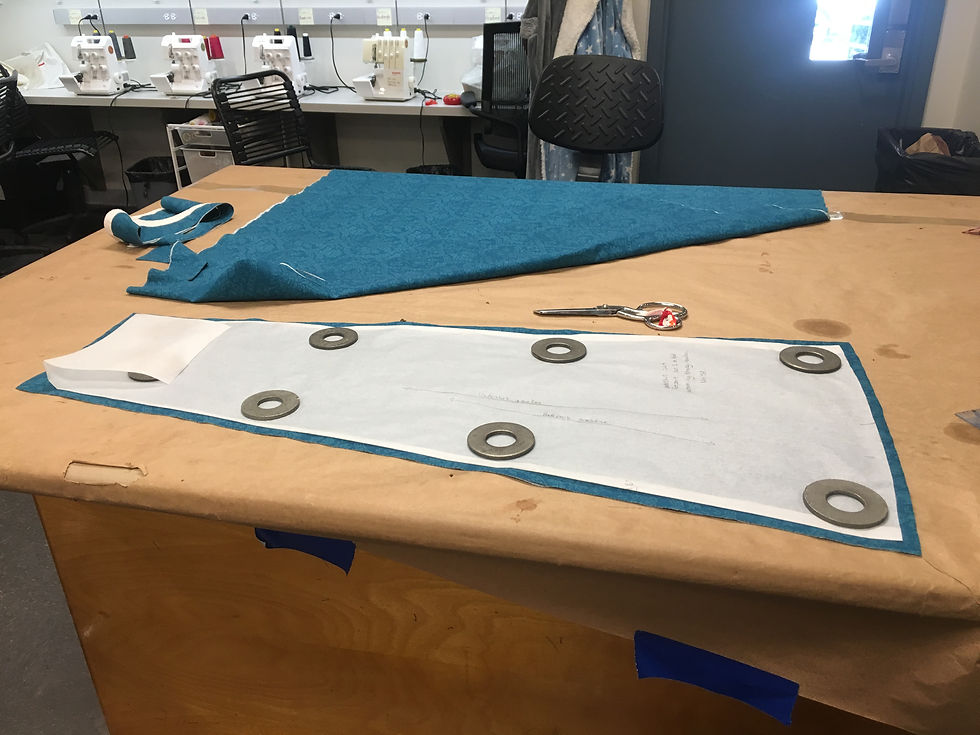
While the foam cured I worked on a plan for the wings. With a partner we brainstormed the size and shape and roughly sketched out ideas.

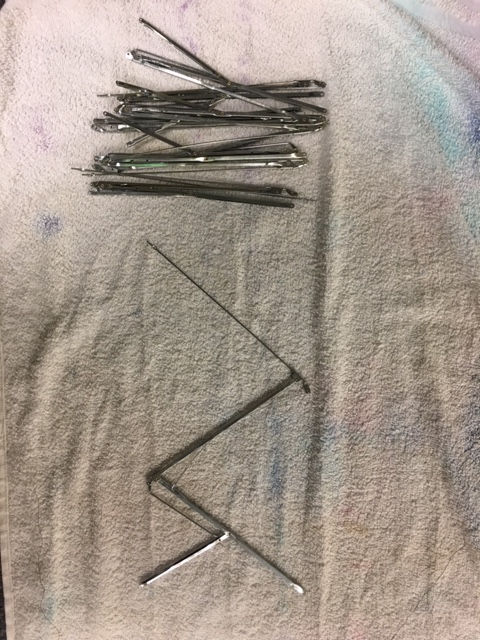
In the end we settled for approximately 45 inches long at the top and 16 inches wide at the widest part. I cut the base out of felt and used wire placed diagonally along the wings to give them some structure. I mapped out the placement with tape and then sewed the wire into channels.
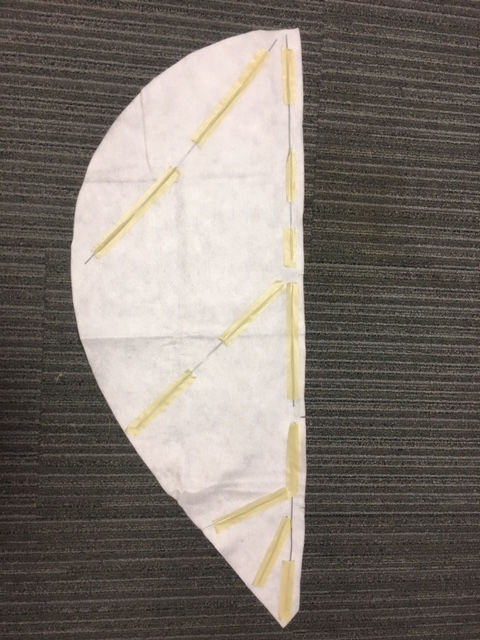
Along the top of the wing I marked out the breaks where the dowels would end to allow the actor to bend his elbow.
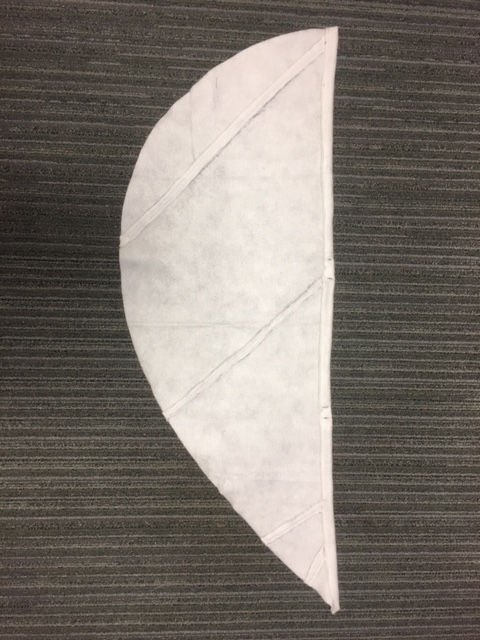
I stitched down felt channels to insert the wire and dowels into.
At this point I think this post needs a break, but I'll come back with a continuation soon! There's tons more to cover and I'm excited to share it.
Comments