Making an Elizabethan Corset Part I
- Noelle

- Jan 17, 2019
- 2 min read
Updated: Dec 11, 2019
I haven't made a blog post in about... three years. So I'm a little rusty! But I wanted to start posting again about the things I make and how I make them, as a sort of archive. My old blog is still out there somewhere, but I think I'll start over again here now that I'm at a different place in my life. With that, I'll dive into what I'm working on!
You would think that as someone who majored in costume design I would have already had a bit of experience with corset-making; not so. This is my first attempt at making a corset, so I'm a little nervous, but excited nonetheless to learn something new. After a bit of research and consulting a friend who does a lot of RenFair, I settled on an Elizabethan corset to make for my first attempt. They're pretty simple as far as corsets go, and I used this site to guide me in making the pattern, picking materials, and construction.
Materials:
– Navy cotton duck
– Dark wash denim with gold thread (some fabric I had laying around)
– Spring steel boning in various lengths (purchased from this site)
– A wooden busk from the same site
– All-purpose polyester thread
– Navy grosgrain ribbon, 7/8 in. wide
I drafted my pattern by following the instructions on the Elizabethan Costume site. The only major deviation I've made so far from their method is that I drew my boning channels onto the pattern, then used tracing paper and a tracing wheel to transfer the lines to the fabric; they draw the boning channels directly onto the fabric. Here is the pattern I drafted:

I made a brief mockup in muslin (with no boning channels) just to make sure I didn't make something wildly off. It seemed like it would fit ok, so I moved on to the real thing.
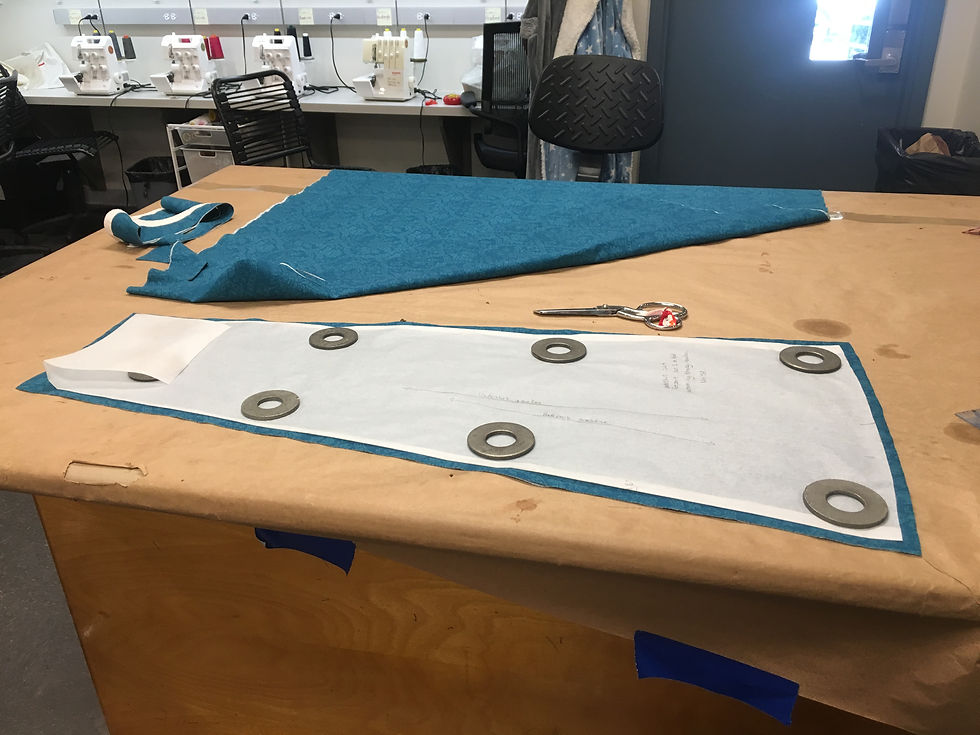
After prewashing the duck I set to work on cutting out the corset. Tracing the boning channels was time consuming and painful , as tracing so many lines onto fabric seems to always be, but I'm really happy with how it came out.

Luckily I only needed to trace the channels on one panel of fabric, so once I finished with the duck (the inner fabric), I cut the pattern out of the denim. I pinned the two layers together, right sides out, and cut off any imperfections.

I basted the bottom and back edges to help further prevent the fabric from shifting during the sewing process later. Then I grabbed my machine and started sewing! Of course, in class Noelle fashion, I ran out of thread in the color I chose about halfway through the process. I've ordered more thread and it should be here on Saturday, so until then the project is on hold. But I'm excited about how it's going so far, and I can't wait to finish it this weekend! Until then, that's the end of part one.
I want to try posting more regularly, but I make no promises. Knowing me.... but let's just see where this goes!
Comments